
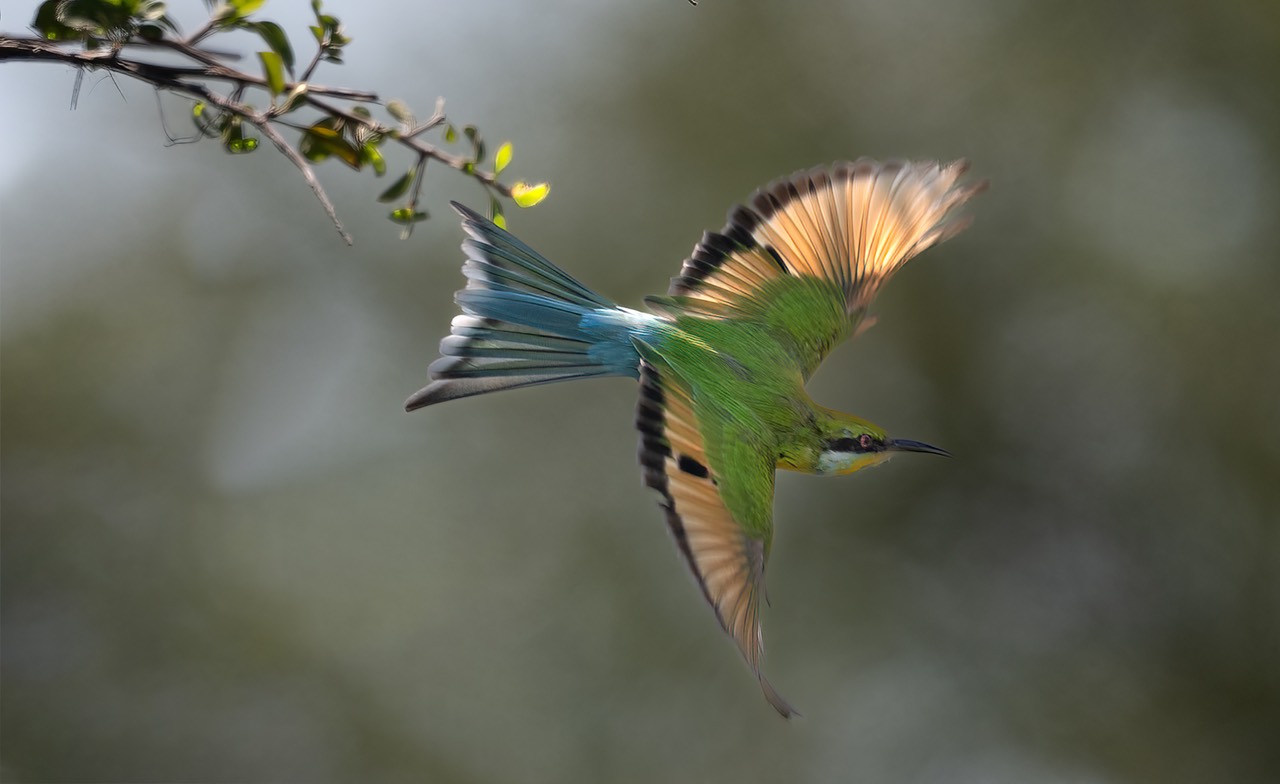
Top: just before the moment. Bottom: an actual moment I wanted.
Nikon’s Pre-Release Capture mode on the Z9 is very helpful at capturing “the moment” on motion-to-action events: birds taking off, runners starting a race, lion pouncing on prey, etc. If you wait until you see the motion-to-action event to press the shutter release, you’ll generally be behind, as even the best reflexes tend to put you at least a quarter of second in back of the actual event. Pre-Release Capture is buffering frames prior to your pressing the shutter release, so you can react normally and still capture the trigger moment.
The problem with Pre-Release Capture is fourfold: (1) it’s three new release modes you need to set; (2) it has custom setting values you need to consider; (3) you only capture JPEG with it; and (4) the release modes have varying crops (pixel counts). Moreover, there isn’t a button you press and voila you’re in Pre-Release Capture.
Because of all of the above, I say you must have a procedure to move in and out of Pre-Release Capture.
First, set Custom Setting #D4 to the options you wish. Generally you want the Pre-release burst to be short (e.g. 0.5s) and the Post-release burst to be long (e.g. Max). But you may have scenarios where you want those values to be different. Just realize that the longer you make the Pre- and Post- bursts, the more images you’ll be piling up on the card. If your true goal is to capture a few frames around a single moment, you’re going to want to set #D4 to lower values than default.
Second, make sure that you’ve set the Release mode dial to all continuous releases (far right position), as this allows you to get into and out of modes via a button rather than the slower dial method.
Third, you should always have the Picture Control and White Balance you want to use with Pre-Release Capture dialed in, as these are important to how your JPEG is recorded. I’d tend to say avoid anything fully automatic in these settings, as you may get variations through the burst itself. Thus, I set Neutral for Picture Control and Natural light auto for White Balance. The latter is an automatic function, but doesn’t tend to change color values as much as plain Auto does.
All the above things are things you should have preset in your camera. We haven’t got to the procedure yet!
Finally, note that 30 fps is an FX crop, 60 fps is a DX crop (1.5x), and 120 fps is a 2/3"-like crop (4x). This has implications on focal length and positioning relative to the subject you need to consider prior to trying to set up the photograph.
On safari, I consider my lens/position/frame rate together. If I’m using the 400mm f/2.8 and 60 fps, for instance, I know I have to position myself further from the subject than I normally would (DX crop).
Then, as I decide I need to use Pre-Release Capture, my procedure is:
- Hold down the Release Mode button and dial in the frame rate. (Note that I can do this via button/dial only because I’ve put the actual Release Mode dial at its far right button-controls position.)
- Hold down the Exposure Compensation button and dial in a small negative compensation if I expect highlight issues.
- Photograph.
Immediately following such a sequence, I back out of both changes:
- Hold down the Release Mode button and dial back in my normal frame rate.
- Hold down the Exposure Compensation button and set the value to zero again.
As you can probably guess from the above, I can get in and out of Pre-Release Capture very fast. I’m ready to be ready.
Aside: you also have to figure out if you’re going to attempt to follow the subject or just keep the camera positioned on the take-off point. Both choices have implications on how you compose and how fast to react you need to be.
If you’re a sports or event photographer on deadline, you may want to expand your procedures to what you do on playback. The Z9 has options for handling bursts as a group, for instance, so if you’re ready and fast, you can find and mark selects quickly. My general recommendation is to Protect all selects, that way if you’re really aggressive, you can be deleting everything else. But there’s also a quick way to mark for delete, too.
While I’ve outlined a procedure to get in and out of Pre-Release Capture, I also believe that you need a clear and concise process to get in and out of any advanced modes on your camera (e.g. Time-lapse, Multiple exposure, Focus-shift, etc.). That means that you’ve done a lot of presetting of options and can trigger the mode more quickly, when needed.
